Getting started
Let’s have a quick start using ConfigWise. We will explain how to sign up, create a product, upload 3D model, install the ConfigWise App and then use Augmented Reality.
Overview
ConfigWise Portal and App
This tutorial will demonstrate how to use the ConfigWise Portal to add a catalog product, then show how to view that product in AR, using the ConfigWise mobile app.
If you don’t have a ConfigWise account, you can set one up for free at https://manage.configwise.io/configwise/register. For more help have a look at our Sign up documentation page.
If you have already created an account, you can sign in at https://manage.configwise.io/configwise/signin.
The ConfigWise Portal is where you create and maintain your 3D catalog. The Portal URL is https://manage.configwise.io, and we recommend that you access the Portal via a desktop web browser, rather than a mobile device.
You’ll also need to install the ConfigWise app on your mobile device. This app can be found in both the Apple App Store and in Google Play. For more help to install the ConfigWise Apps have a look at our Installation ConfigWise App page.
Download the Sample Files
In this example, we’ll add a table model to our 3D catalog. To get the ConfigWise 3D assets for this table, download this zip file.
Extract the contents of the zip file into a folder. The subfolder “ConfigWise-Example-Files” contains three items:
- Android folder, which contains the compressed 3D object file used by Android devices
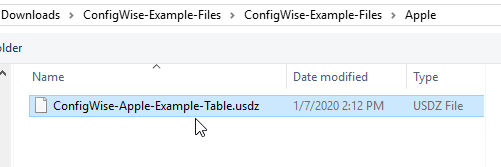
- Apple folder, which contains the compressed 3D object file used by Apple devices
- A thumbnail image of the object
Set up ConfigWise Users
- Log into the ConfigWise portal using your account credentials.
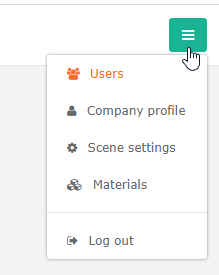
- The “hamburger” (three-line) icon at the top right can be used to change your account settings. Click the first option: Users.
There are two types of users in ConfigWise: Company Manager and Company User. As the account creator, you are listed as the Company Manager by default.
A Company Manager has access to the portal, which includes permission to add to or modify the company’s catalog. A Company User doesn’t have access to the portal, but can use the mobile app to view content. Managers can use the mobile app as well, with additional app capabilities such as certain types of renderings. - To create a new user, of either type, you would click Create User.
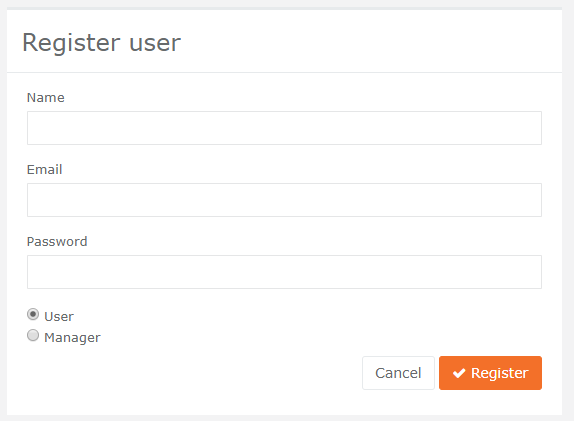
- For each new user, enter a name, email, and password, and choose User or Manager. Once that person receives the email and confirms the account, they will be listed as a user in your account.
Add the Sample Model to Your Catalog
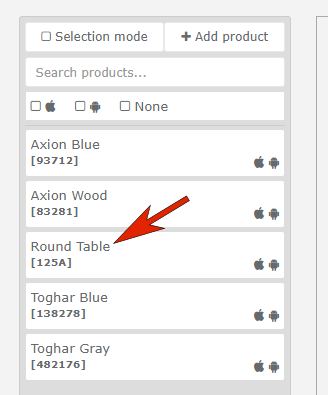
- From the navigation bar across the top, click Catalog.
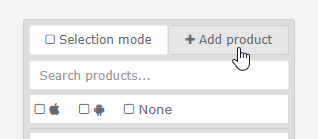
- Click Add Product.
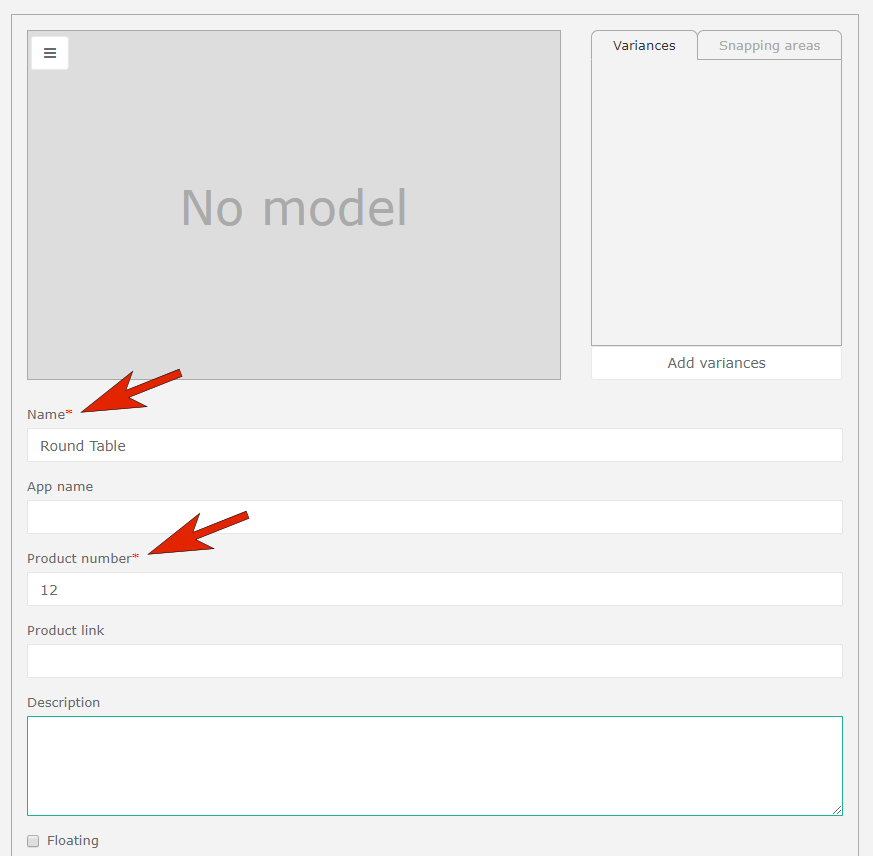
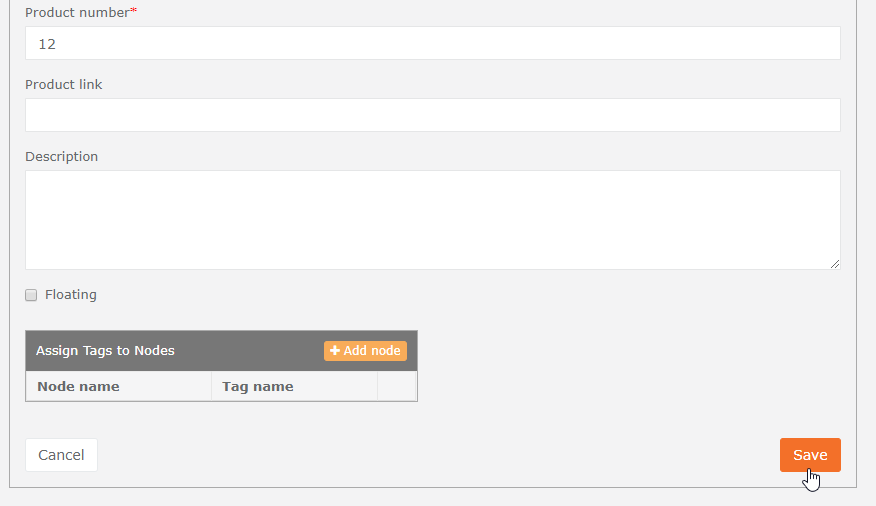
- Enter a product name and number. Other fields, such as link and description, are optional.
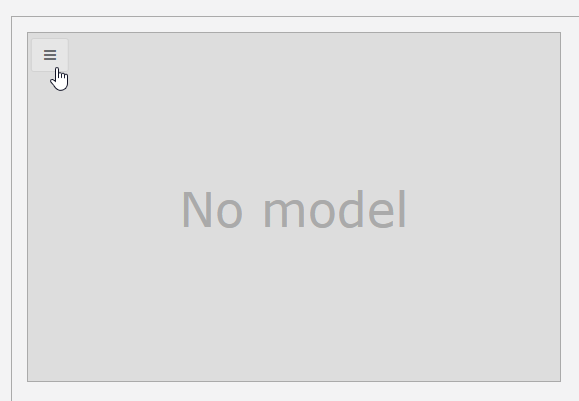
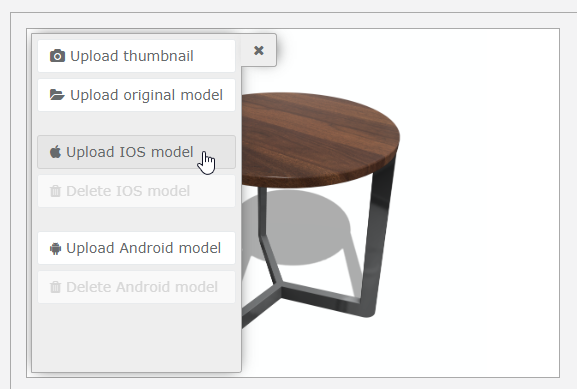
- To link the downloaded assets to this new product, click the “hamburger” icon at the top left corner of the field that currently reads “No model.”
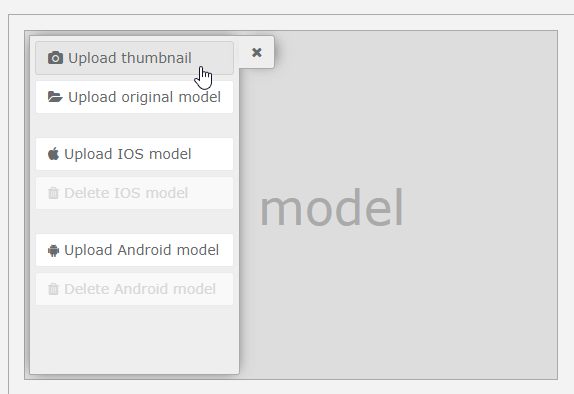
- In the menu that opens, click Upload Thumbnail.
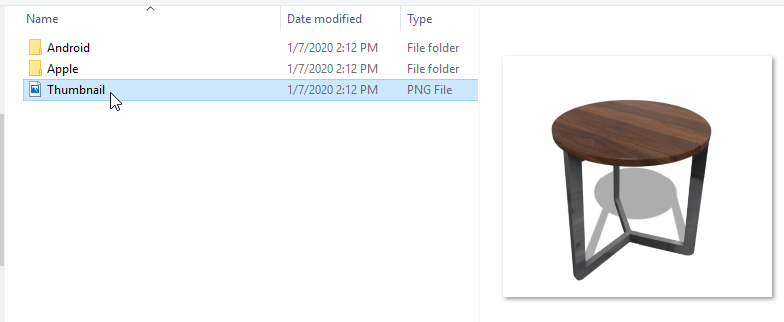
- Find and open the extracted files from the sample download, and select the Thumbnail.png file.
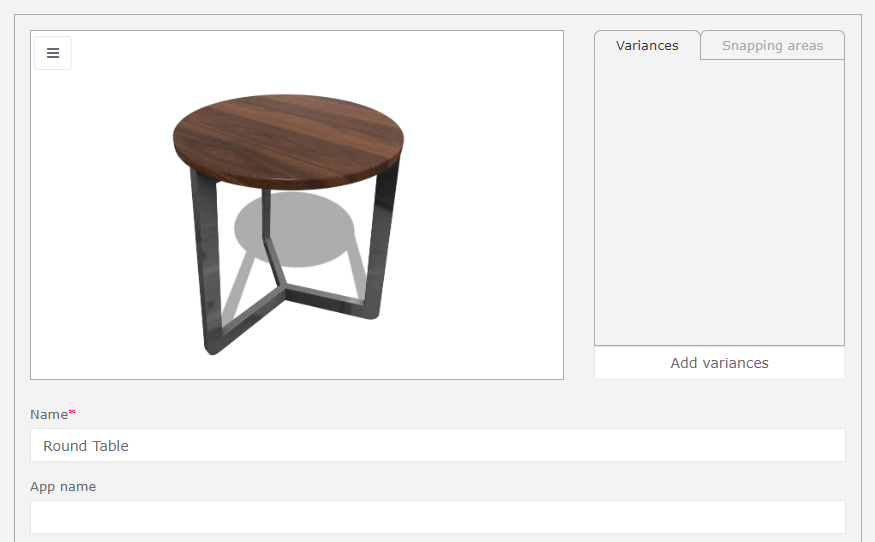
The image now appears in the product window. - To link the Apple model file, go back to the “hamburger icon,” and from the menu choose Upload IOS model.
- Open the extracted Apple folder, and select the USDZ file.
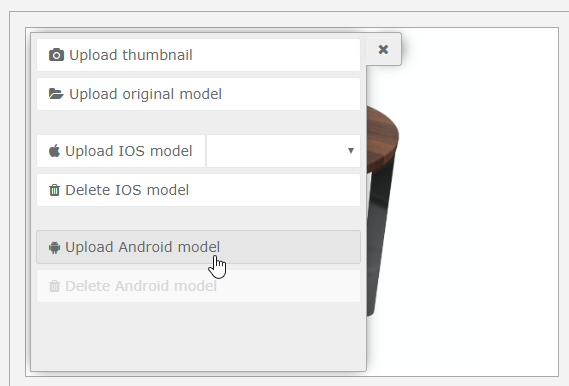
Note: USDZ is the file format used by Apple to display 3D AR content on their devices. If you produce your own 3D models using SketchUp, Maya, Cinema4D, etc., we will soon provide a tutorial that demonstrates how to convert your model data into AR content for Apple. If you don’t produce 3D models, ConfigWise provides modeling services as well as file conversion services. - To link the Android model file, go back to the “hamburger” icon and choose Upload Android model.
- Open the extracted Android folder, and select the object file.
Note: Many 3D modeling applications provide Android AR as an export option. As with Apple AR, ConfigWise can both provide the 3D model itself and conversion services. If you produce your own 3D content, we will soon provide a tutorial that demonstrates how to convert your model data into AR content for Android. - Finally, click Save at the lower right corner.
The table is now added as a product in your catalog.
Make the New Product Visible in the App
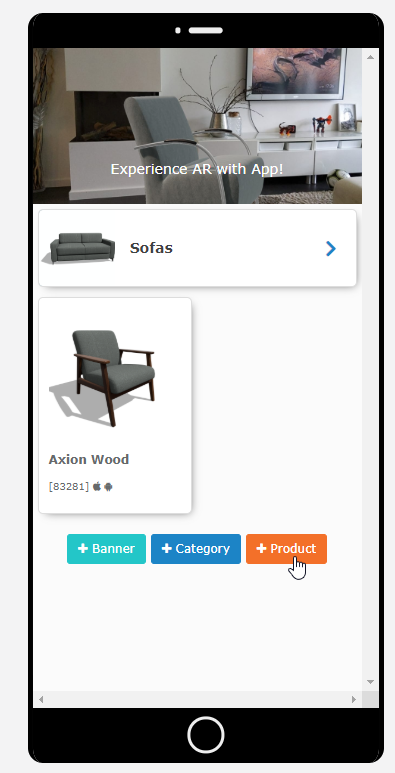
- From the navigation bar across the top, click App Content.
- In the mobile app view, click + Product.
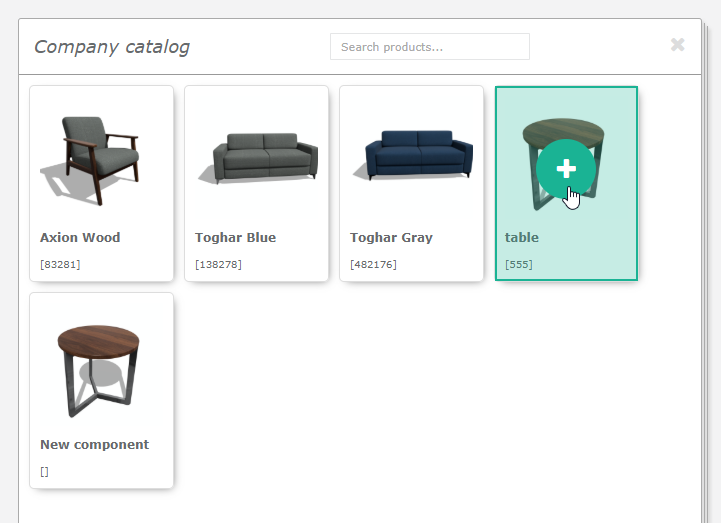
- In the Company Catalog that opens to the right, click the table you just added to the catalog.
View the Product in AR on the Mobile App
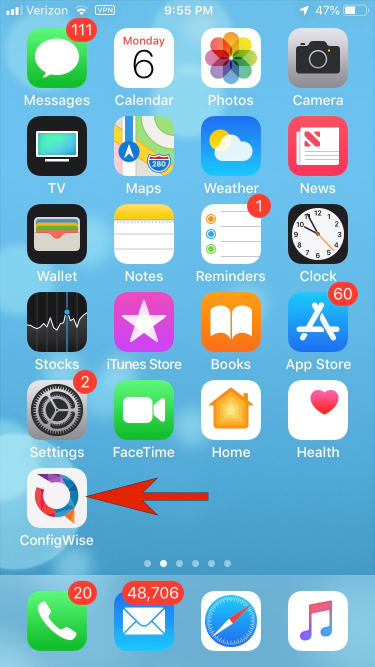
- On your mobile phone or tablet, open the ConfigWise app.
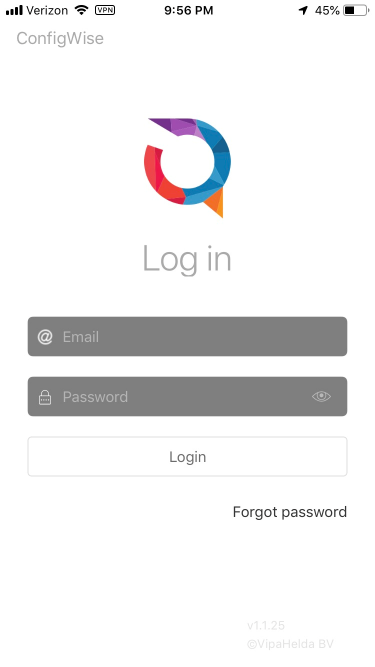
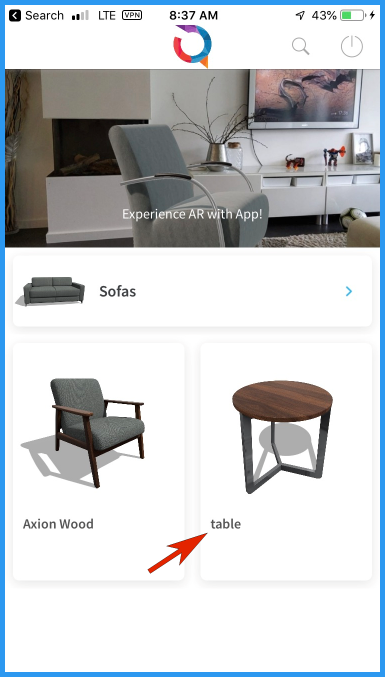
- Log into your app user account, then tap the newly-added table.
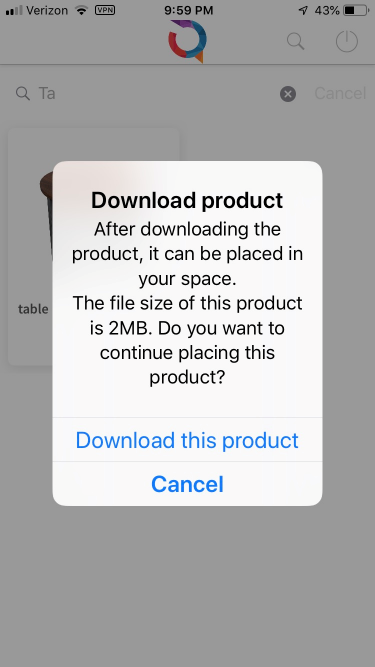
- Choose to download the product.
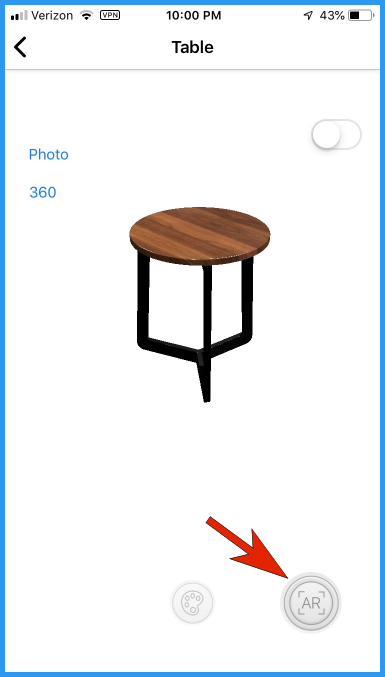
- On an Apple device, if you’re logged in as a Company Manager, the table will appear in the 3D canvas, and you’ll need to tap the AR button. For a Company User, or for anyone using an Android device, the table will appear automatically in AR view.
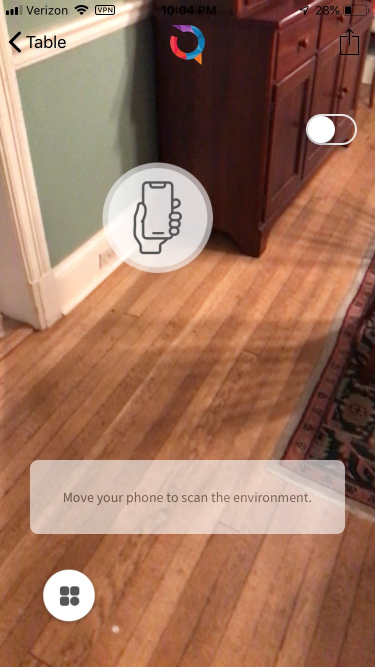
- In AR view, the app first needs to detect the floor. Point the device at about a 45 degree angle toward the floor. The room should have plenty of light, and the floor should not be highly reflective or shiny. If the table doesn’t immediately appear, scan a bit to either side, to pick up more of the floor.
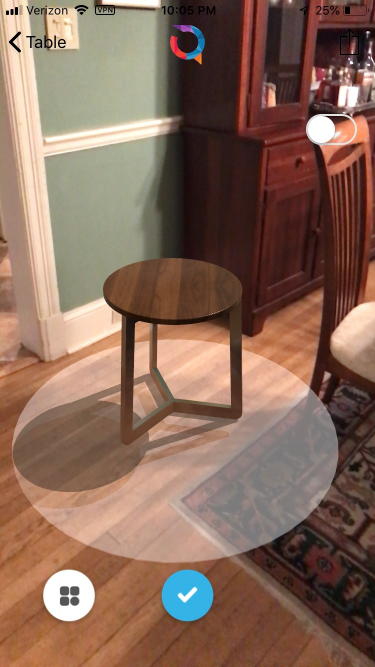
- Once the floor is detected, the table will be projected onto it.
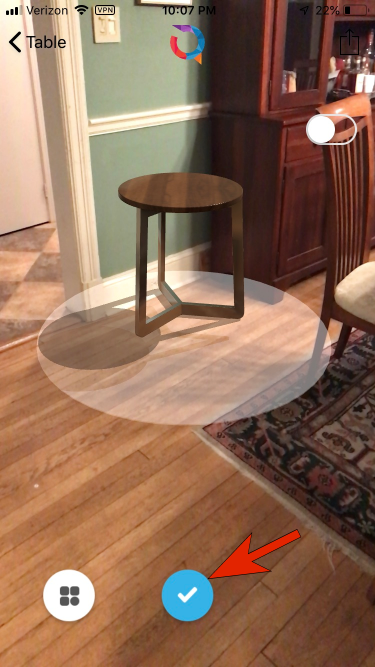
- You can move the table along the floor by dragging it with one finger. When the table is placed as you like, tap the OK button.
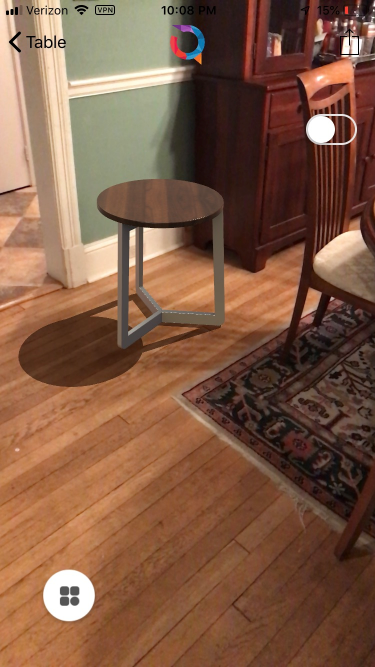
- Now the table is in place, and you can save the image or explore the table from different angles.
Now that you’ve seen how our system works, if you’d like to try a different product, please feel free to request a 3D model through our portal.

